


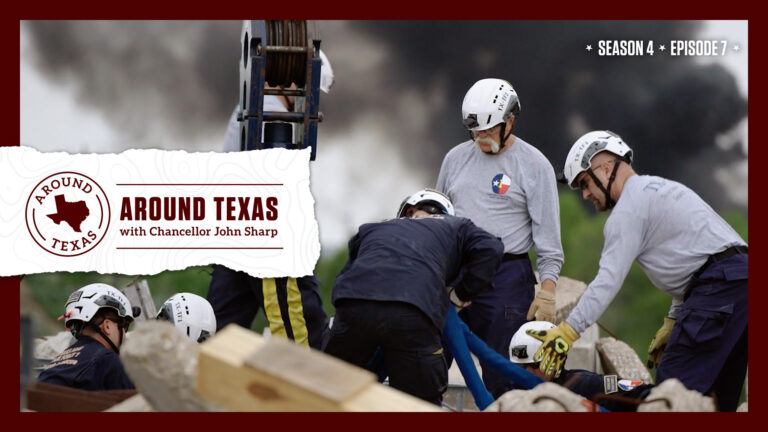

Lessons in Adversity & From Battleground to Breaking Ground
Lessons in Adversity & From Battleground to Breaking Ground
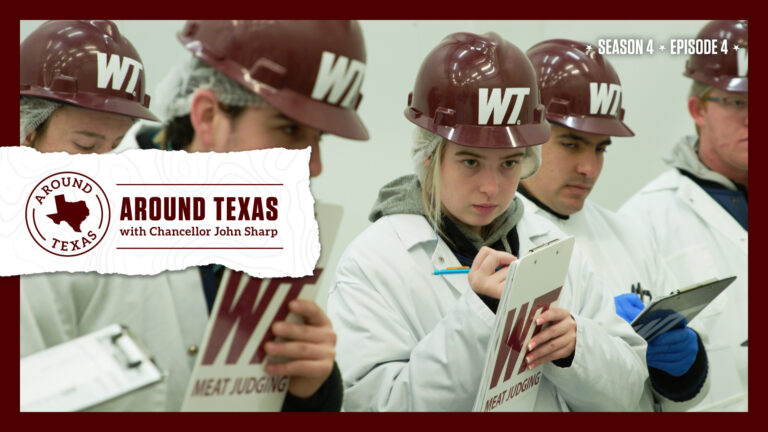
From Prime Cuts to Perfection & Scan the Past, Imagine the Future
From Prime Cuts to Perfection & Scan the Past, Imagine the Future


Congratulations to Dean Robert Ahdieh and the @TAMULawSchool faculty, staff, and students on this continued rise in national rankings!
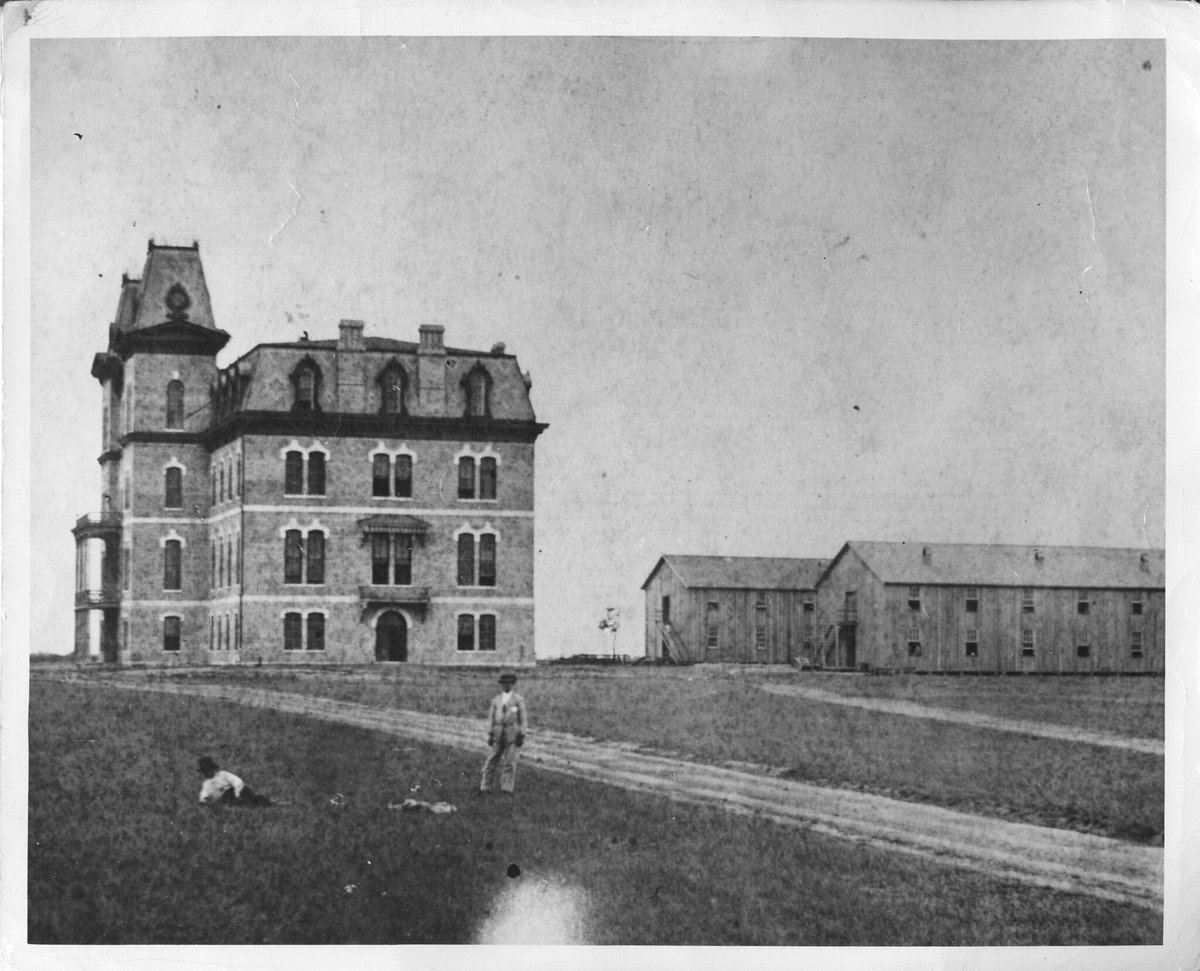
The Agricultural and Mechanical College of Texas in 1878, the same year the last total solar eclipse passed over the Lone Star State.
Today's solar eclipse will drop solar power generation to near zero, but the Texas power grid is prepared.
Dr. Thomas Overbye, a @TAMUEngineering professor and director of the Smart Grid Center, says other power sources are ready to keep the grid stable.
Texans and visitors viewing the solar eclipse in the path of totality today: have a plan, stay alert, remain weather aware, and follow instructions from local officials.
We had a great weekend of para-cycling at RELLIS!
⚠️Texas Faces Multiple Extreme Weather Threats This Week⚠️
🔥Critical Wildfire Threat: Sun-Tues
⛈️Severe Storm Threat: Mon-Wed
🌙Eclipse: Mon
Be Prepared, Have a Plan, Stay Alert, and Heed Warnings of Local Officials.
Safety Tips: https://texasready.gov/

